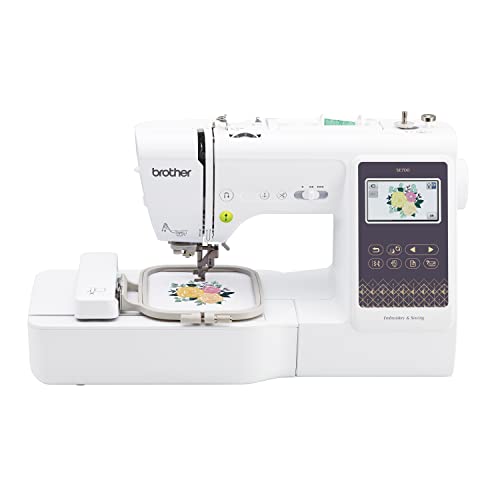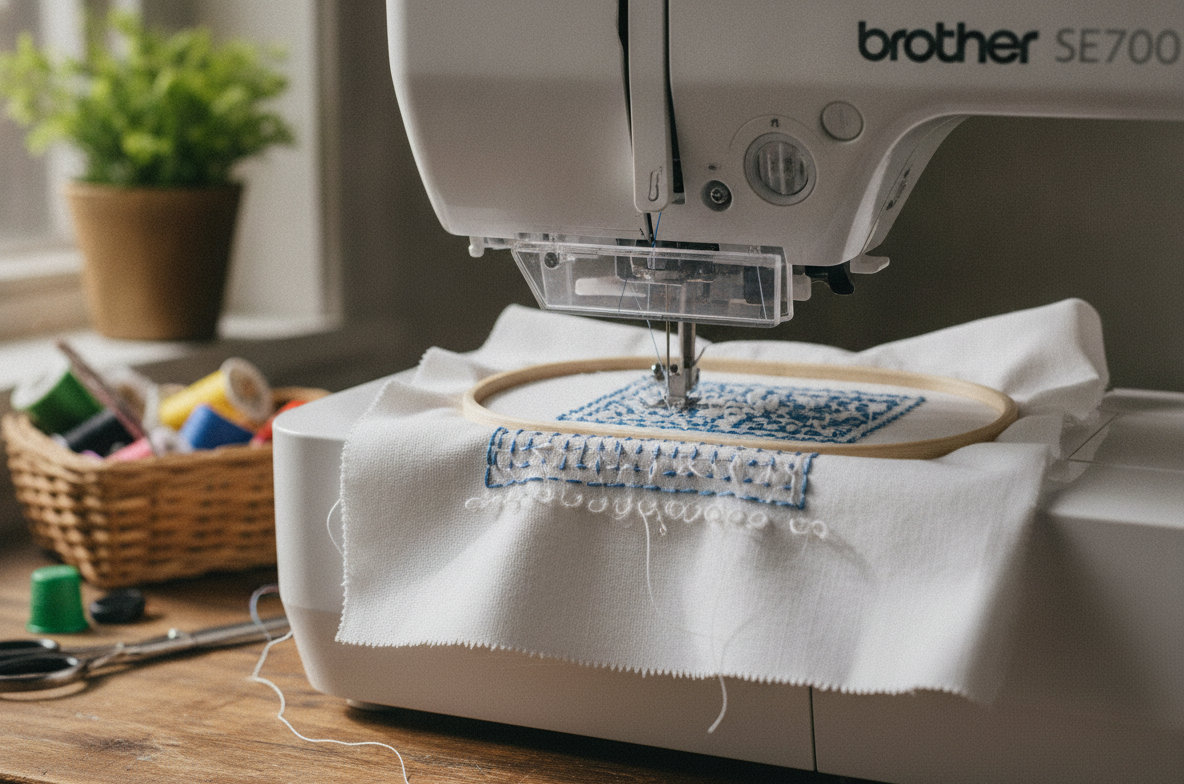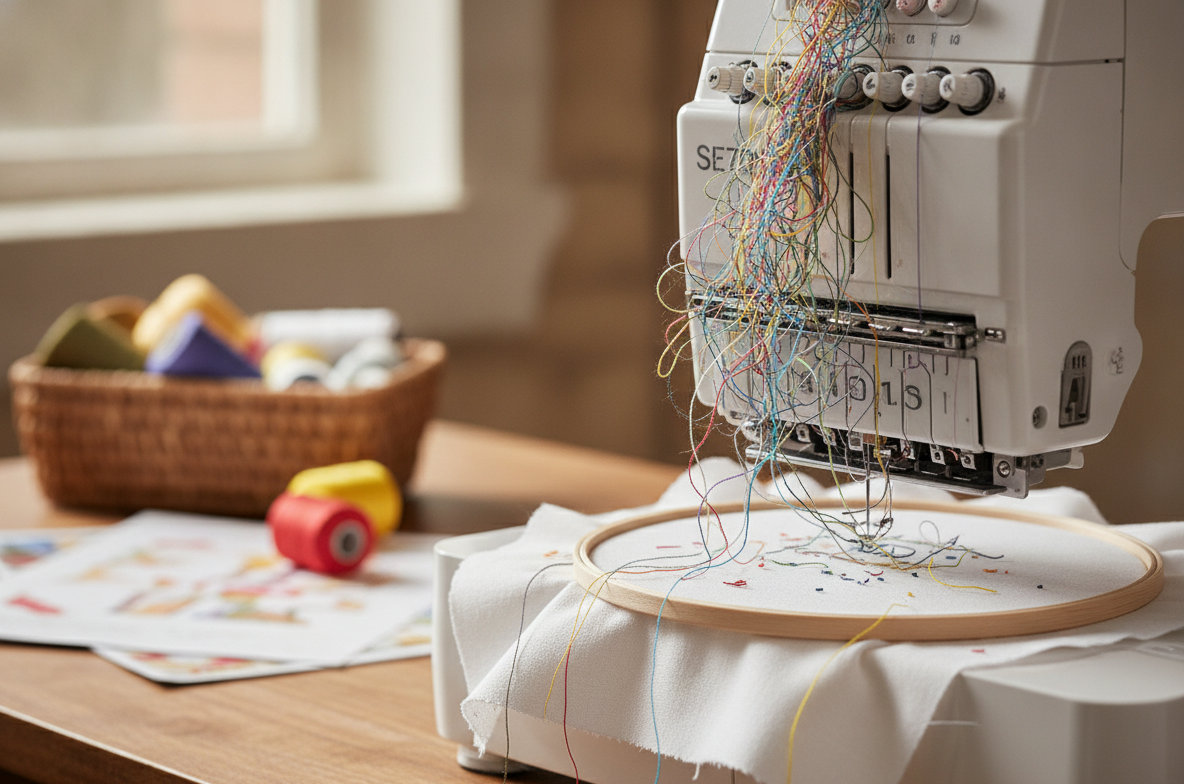
Thread breaking on a Brother SE700 embroidery machine is a common frustration for home sewists. While it can seem like a major problem, most thread breakage issues stem from a few identifiable causes. Addressing these systematically can quickly resolve the problem and get your machine running smoothly again. Many issues relate to the user setup rather than internal machine faults.
Incorrect Upper Threading: The Leading Cause
The single most frequent reason for thread breaking on a Brother SE700, or any embroidery machine, is incorrect upper threading. Even a slight deviation from the specified path can cause significant tension imbalances and lead to snapping. The machine relies on a precise thread path to manage tension.
To troubleshoot this, completely remove the upper thread. Raise the presser foot before rethreading. Raising the presser foot opens the tension discs, allowing the thread to seat properly. If the presser foot is down, the thread will not properly enter the tension discs, leading to excessive tension and breakage. Guide the thread carefully through every hook and guide, following the numbered path on your Brother SE700. Make sure the thread is fully seated in the take-up lever, which often requires pulling the thread firmly upwards after it passes the last guide.
Using a high quality thread is also important. The Brother SE700 Sewing and Embroidery Machine, with its advanced features, still performs best with threads designed for machine embroidery. Cheap or old thread can have inconsistencies, slubs, or become brittle, increasing the likelihood of breakage even with perfect threading.
Worn or Incorrect Needle Selection
The needle plays a critical role in stitch formation. A worn, bent, or incorrect needle can cause thread to fray and break. Needles are consumables. They dull and bend over time, especially when embroidering dense designs or tough fabrics.
Inspect your needle closely. Look for a bent shaft, a dull point, or burrs (tiny hooks) along the shaft or around the eye. Even a microscopic burr can abrade the thread as it passes through, weakening it until it snaps. Replace the needle with a new one designed for machine embroidery. Use the correct size for your thread and fabric. A needle that is too small for the thread will cause friction and breakage, while a needle that is too large can create oversized holes in the fabric.
Make sure the needle is inserted correctly. The flat side of the needle shaft must face the back of the machine. Push the needle all the way up into the needle clamp before tightening the screw. An improperly inserted needle can hit the bobbin case or needle plate, causing damage to both the needle and the machine, and almost certainly resulting in thread breakage.
Sewing Machine Needle Sizes Chart: Which Needle for Which Fabric
Bobbin and Bobbin Case Problems
Issues with the bobbin or bobbin case can also cause upper thread breakage. The upper and lower threads need to interact smoothly for a balanced stitch. Any disruption from the bobbin side impacts the upper thread.
Improper Bobbin Winding
A poorly wound bobbin is a common culprit. If the thread is wound unevenly, too loosely, or too tightly, it will not feed consistently, leading to tension problems. Wind a new bobbin, making sure the thread lays smoothly and evenly across the bobbin. Do not hand-wind bobbins. Always use the bobbin winder on your Brother SE700.
Incorrect Bobbin Insertion or Bobbin Type
Make sure the bobbin is inserted into the bobbin case with the thread unwinding in the correct direction. For most drop-in bobbin systems, like on the Brother SE700, the thread should unwind counter-clockwise when looking down at the bobbin. Also, use only the bobbins specified by Brother for your SE700. Using bobbins from other brands or incorrect sizes can lead to serious tension and feeding problems.
Lint and Debris in the Bobbin Area
Lint and tiny thread snippets can accumulate in the bobbin case and under the needle plate. This debris can obstruct the thread path or interfere with the bobbin's rotation, causing snags and breakage. Regularly clean the bobbin area with a small brush. Never use canned air, as it can push lint deeper into the machine's mechanisms.
Tension Settings Are Off
Incorrect tension, either too high or too low, can cause thread to break. The Brother SE700 generally uses an automatic tension system for most embroidery, but manual adjustments might be necessary for specific threads or fabrics.
Most thread breakage issues relate to the upper tension being too high. If the upper thread is under too much strain, it will snap. Start by setting your upper tension to the manufacturer's recommended setting, usually around 3.0 to 4.0 for embroidery. Make small adjustments, increasing or decreasing by 0.5 increments, and test after each change. Avoid adjusting the bobbin tension unless you are an experienced technician, as it is factory-set and rarely needs modification. If you suspect bobbin tension, it is often better to seek professional help.
Suboptimal Thread Choice
The type and quality of thread significantly impact embroidery performance. Using the wrong thread can lead to frequent breaks.
Thread Quality and Age
Cheap thread often has slubs, uneven thickness, or weak spots that make it prone to breaking. Invest in good quality embroidery thread from reputable brands. Old thread can also become brittle and lose its strength over time, especially if stored in humid or bright conditions. If your thread snaps easily when you pull it by hand, it is likely too old or of poor quality for embroidery.
Thread Weight and Type
For most machine embroidery, 40-weight rayon or polyester thread is standard. Using a thread that is too fine (e.g., 60-weight) for a dense design, or too thick (e.g., 30-weight) with a small needle, can lead to breakage. Always match your thread weight to your needle size and the design's density.
Stabilizer and Hooping Issues
Proper stabilization and hooping are fundamental for successful embroidery. Problems in these areas can place undue stress on the thread.
Incorrect Stabilizer Choice
The stabilizer provides a firm foundation for the stitches. If the stabilizer is too light for the fabric or the design, the fabric can pucker or shift, causing the needle to hit the fabric incorrectly and break the thread. Make sure you are using an appropriate cut-away, tear-away, or wash-away stabilizer for your specific fabric and design density.
Improper Hooping
Hooping the fabric and stabilizer correctly is essential. The fabric should be taut like a drum, but not stretched or distorted. If the fabric is too loose in the hoop, it can shift during embroidery, causing snags. If it is stretched too tightly, it can distort the design and create excessive tension on the thread. Always hoop the fabric and stabilizer together, making sure they are perfectly flat and wrinkle-free.
Machine Maintenance and Cleaning
Regular maintenance keeps your Brother SE700 running efficiently and prevents many common problems, including thread breakage.
Lint, dust, and tiny thread fragments can accumulate in various parts of the machine, especially around the needle bar, tension discs, and bobbin area. This buildup can snag the thread, interfere with tension, or even cause the machine to seize. Use the brush provided with your machine to clean these areas regularly. A small vacuum attachment designed for electronics can also be helpful for removing stubborn lint. Occasionally, a drop of sewing machine oil in designated oiling points (consult your manual) can reduce friction, but avoid over-oiling.
When to Seek Professional Help
If you have systematically gone through all the troubleshooting steps above and your Brother SE700 thread still keeps breaking, it might be time to consider professional service. Some issues are beyond home repair capabilities.
These include: timing issues where the needle and bobbin hook are out of sync, internal burrs or rough spots on metal parts that are fraying the thread, or motor or electronic problems. A professional technician has specialized tools and knowledge to diagnose and repair these more complex issues. Expect to pay anywhere from $75 to $150 for a basic service or diagnostic fee. More extensive repairs, such as timing adjustments or part replacements, could range from $150 to $350 or more, depending on the part and labor involved. It is often a worthwhile investment to extend the life of your embroidery machine.
How Long Do Sewing Machines Last? Lifespan by Type and Brand