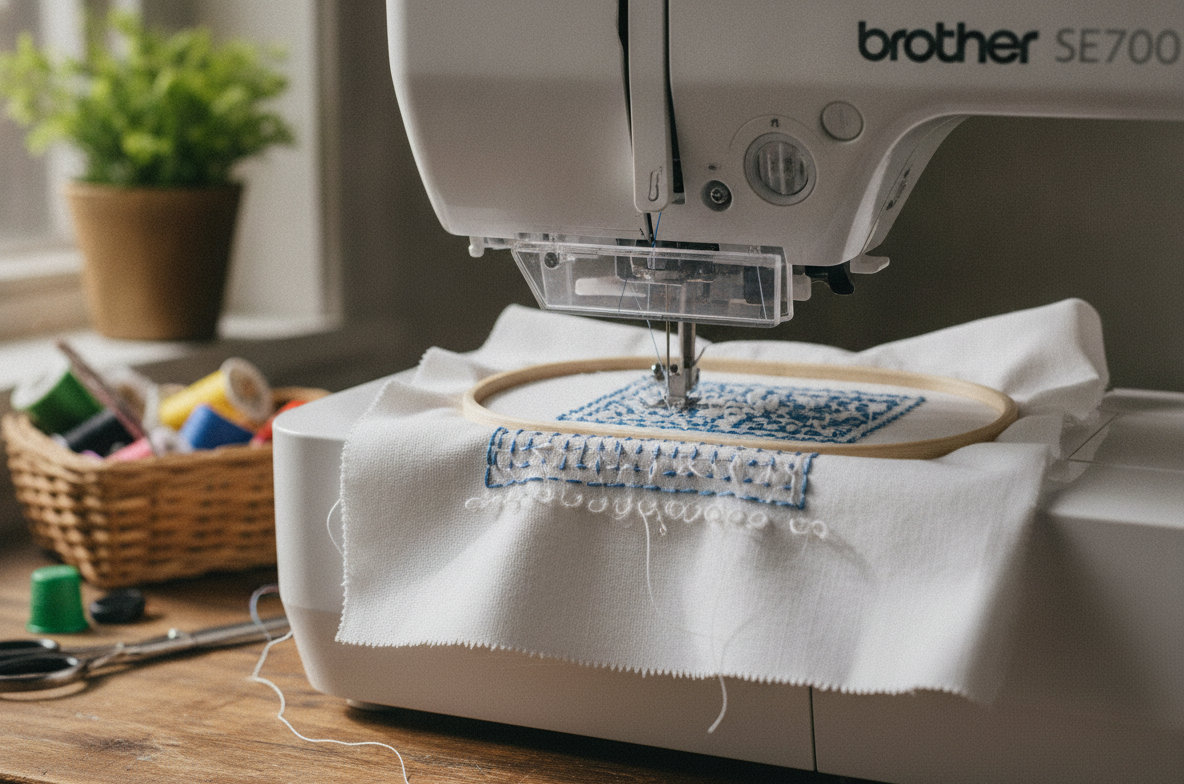
When the bobbin thread appears on the top side of your fabric while embroidering with a Brother SE700, it usually points to a problem with your machine's upper threading, upper thread tension, or the needle itself. This common issue indicates an imbalance. The top thread pulls too much of the bobbin thread through to the fabric's surface. Resolving it typically involves a few diagnostic steps, most of which are simple to perform yourself.
Upper Threading: The Most Common Culprit
Nine times out of ten, improper upper threading is the reason bobbin thread shows on top of your embroidery. Even a small misstep in the threading path can prevent the tension discs from engaging correctly. This allows the top thread to pull with too much force, distorting the stitch.
How to Check and Re-thread Your Brother SE700
Start by completely removing the upper thread from your machine. Lift the presser foot before you begin. Lifting the presser foot opens the tension discs. If the presser foot is down, the tension discs remain closed, and the thread cannot seat properly within them.
Carefully follow the numbered threading path outlined on your Brother SE700 machine. Make sure the thread passes through all guides. Pay close attention to the take-up lever. The thread must go up and then down through the take-up lever's eye. Ensure the thread snaps securely into the tension discs.
After re-threading, lower the presser foot. Take a piece of scrap fabric and stabilizer. Stitch a small test design. Observe the stitches. If the bobbin thread no longer appears on top, you have fixed the issue. This self-repair costs nothing.
Upper Thread Tension: Is It Too Tight?
If re-threading does not solve the problem, the upper thread tension might be set too high. A higher tension setting means the top thread pulls harder. This can easily draw the bobbin thread up to the fabric's surface.
Adjusting Upper Thread Tension
Your Brother SE700 has an electronic tension control. You can adjust it using the machine's touchscreen. The factory default tension setting is usually around 3.0 to 4.0. If your bobbin thread is showing on top, try decreasing the upper thread tension incrementally. Reduce it by 0.2 or 0.3 at a time.
After each adjustment, perform a test stitch on scrap fabric. Examine both the top and bottom of the fabric. You want to see a balanced stitch where the top thread and bobbin thread meet perfectly within the layers of fabric and stabilizer. A perfect stitch looks the same on both sides. The bobbin thread should not be visible on the top, and the top thread should not be visible on the bottom.
Continue adjusting and testing until the stitch balance is correct. Avoid drastic changes. Small, gradual adjustments yield the best results. This adjustment is also a free, do-it-yourself fix.
The Needle: Small Part, Big Impact
A dull, bent, or incorrect needle can significantly affect stitch formation. It might not penetrate the fabric cleanly. This can lead to skipped stitches or improper loop formation, which in turn can cause the bobbin thread to be pulled to the top.
Checking Needle Condition, Type, and Size
- Condition: Remove your needle. Run your fingertip gently over the tip of the needle. It should feel perfectly smooth. If you feel any burrs, rough spots, or if the tip is bent or dull, replace it immediately. A dull needle creates larger holes in the fabric, weakening the stitch.
- Type: Make sure you are using the correct needle type for your fabric and embroidery design. For general embroidery, an embroidery needle (often labeled Embroidery or Sharp) is best. If you are working with knits, a ballpoint or stretch needle prevents fabric damage. Using a universal needle on delicate or specific fabrics can sometimes cause issues.
- Size: The needle size should match your thread weight and fabric. Thicker threads or denser fabrics often require a larger needle size. A needle that is too small for the thread can create excessive friction. This can lead to thread breaking or poor stitch quality.
Replacing the Needle
To replace the needle, loosen the needle clamp screw. Remove the old needle. Insert the new needle with the flat side facing the back of the machine. Push it up as far as it will go. Tighten the needle clamp screw firmly. Make sure it is secure. A pack of quality embroidery machine needles typically costs between $3 and $7. This is a very inexpensive potential fix.
For more detailed information on needle types and sizes, you can refer to our Sewing Machine Needle Sizes Chart: Which Needle for Which Fabric guide.
Bobbin and Bobbin Case: Overlooked Details
While the upper threading and tension are the primary suspects, issues with the bobbin or bobbin case can also contribute to bobbin thread showing on top. These are often overlooked.
Checking Bobbin Winding
A poorly wound bobbin can feed thread inconsistently. This impacts stitch quality. Remove your bobbin from the bobbin case. Inspect its winding. The thread should be wound evenly and smoothly, without lumps or loose sections. If it looks uneven or too loose, re-wind it. Make sure the thread is snug, but not so tight that it distorts the bobbin itself.
Verifying Bobbin Type
Brother SE700 machines are designed for specific bobbin types, usually Class 15 plastic bobbins. Using metal bobbins or bobbins from other brands can cause tension irregularities. This happens because they might not fit correctly in the bobbin case. Always use genuine Brother bobbins or high quality, compatible plastic bobbins.
Cleaning the Bobbin Case Area
Lint and dust accumulate in the bobbin case and around the feed dogs. This debris can interfere with the bobbin thread's smooth release. It can also affect the bobbin tension spring. Turn off your machine. Open the bobbin case cover. Use a small brush (often included with your machine) to gently clean out any lint or thread snippets. Never use canned air, as it can push debris deeper into the machine. This cleaning is a simple, free maintenance step.
Fabric and Stabilizer: Are They Compatible?
The interaction between your fabric and stabilizer is vital for good embroidery. If the combination is wrong, it can lead to puckering, tunneling, or an uneven stitch, which might make the bobbin thread visible on top.
Matching Stabilizer to Fabric
- Fabric Weight: Heavy fabrics need a stronger stabilizer. Lightweight fabrics might need a lighter tear-away or cut-away.
- Fabric Type: Stretchy knits require a cut-away or fusible mesh stabilizer to prevent distortion. Wovens are more forgiving but still need proper support.
- Design Density: Very dense embroidery designs require a firmer stabilizer to prevent the fabric from buckling.
If your stabilizer is too weak, the fabric can stretch or pull during embroidery. This affects stitch formation. Make sure your fabric and stabilizer are hooped together tautly, but without distortion. Too much tension in the hoop can also stretch the fabric. This causes issues when removed from the hoop. Experimenting with different stabilizer types and weights will cost you the price of the supplies, typically $5 to $20 for a small pack.
When to Seek Professional Help
If you have tried all the above troubleshooting steps and your Brother SE700 still shows bobbin thread on top, it may indicate a more complex mechanical issue. This could involve internal tension spring problems, timing issues, or a damaged bobbin case that is not visibly apparent. These issues require a trained technician.
A professional sewing machine technician can diagnose and repair internal components. They will perform a thorough cleaning, oiling, and adjustment of your machine's settings. The cost for a basic service and repair can range from $75 to $150, depending on the severity of the issue and your location. If a specific part needs replacement, the cost will be higher. Always ask for an estimate before authorizing repairs.
Preventative Maintenance Tips
Regular maintenance can prevent many common embroidery machine problems, including bobbin thread showing on top.
- Clean Regularly: After every few projects, or at least monthly, clean out the bobbin area, under the needle plate, and around the feed dogs. Lint and thread dust are the enemy of smooth machine operation.
- Use Quality Supplies: Invest in good quality embroidery thread, bobbins, and needles. Cheap supplies often lead to frustrating problems.
- Proper Storage: When not in use, cover your Brother SE700 to protect it from dust.
- Handle with Care: Avoid pulling on the fabric excessively while embroidering. Let the machine do the work.
By understanding the common causes and systematically troubleshooting your Brother SE700, you can usually resolve the issue of bobbin thread showing on top. Most fixes are simple adjustments or replacements that you can do at home, saving you time and money.