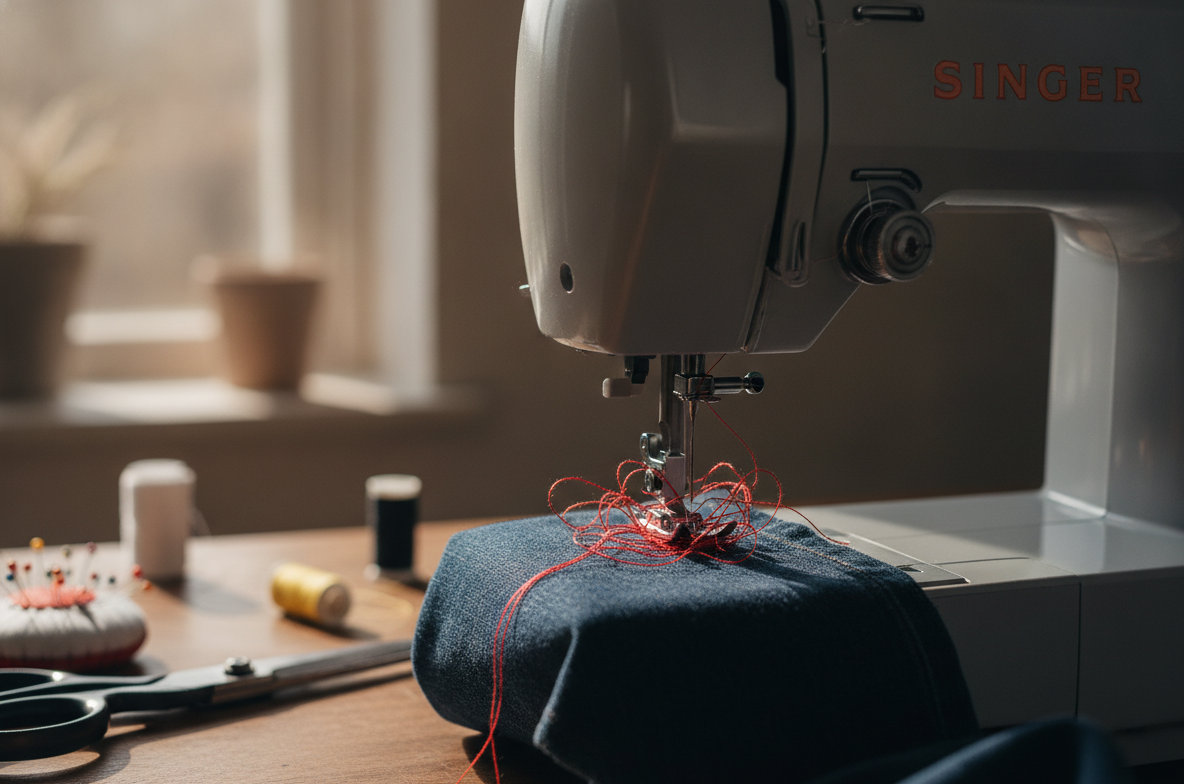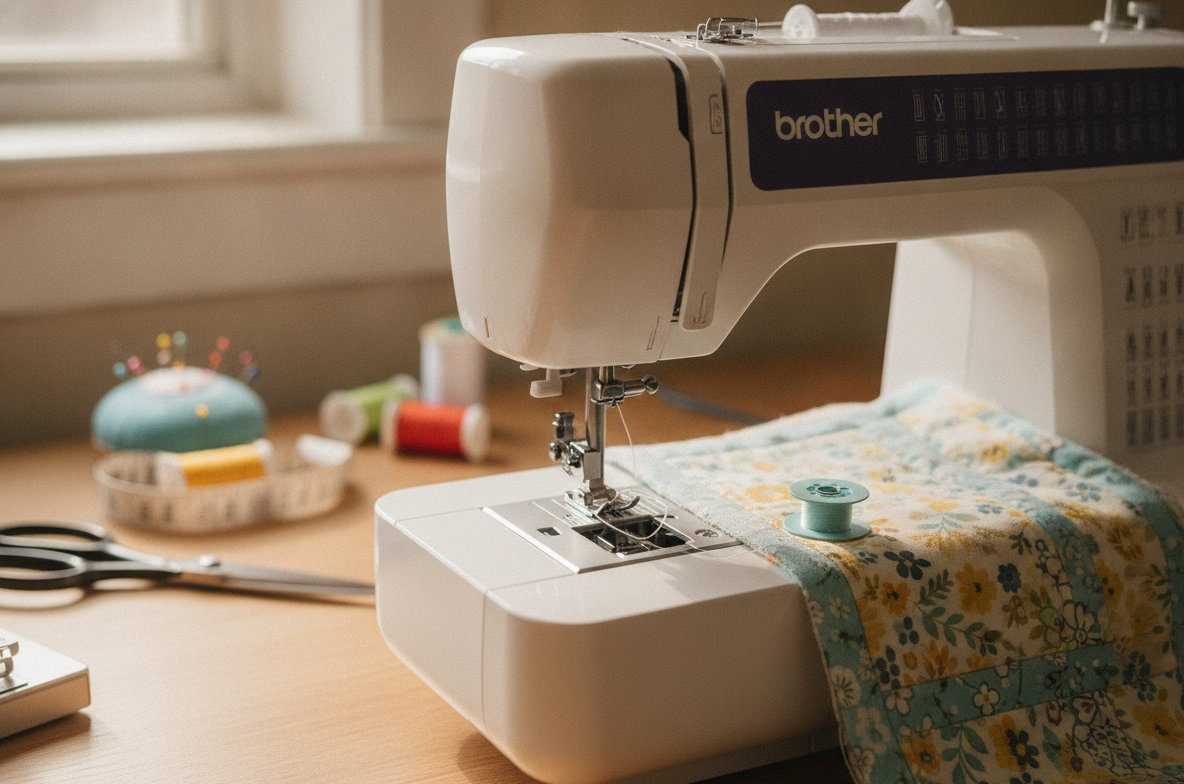
Nine times out of ten, a bobbin that refuses to catch thread on a Brother CS6000i points to an issue with the upper threading, not the bobbin itself. The hook mechanism relies on a correctly formed upper thread loop to do its job. If that loop isn't presented perfectly at the precise moment, the bobbin thread stays put, and your machine simply won't sew. Understanding the interplay between the needle, upper thread, and bobbin hook is the first step to resolving this common sewing machine frustration.
The Most Common Culprit: Upper Threading Issues
This is by far the most frequent cause of a "bobbin not catching" error. The Brother CS6000i, like many computerized sewing machines, needs precise threading to function correctly. Any deviation, no matter how small, can disrupt the delicate balance required for stitch formation.
1. Incorrect Thread Path: The upper thread must follow the exact path indicated by the numbered guides on your machine. This includes passing through the tension discs, around the take-up lever, and through all thread guides leading to the needle. A common mistake is missing one of these guides or allowing the thread to slip out. If the thread is not firmly seated in all guides, the machine cannot apply proper tension, and the thread loop will not form correctly for the bobbin hook to grab.
2. Presser Foot Position: Always thread your machine with the presser foot in the UP position. This is a non-negotiable step. When the presser foot is up, the upper tension discs open, allowing the thread to seat properly between them. If the foot is down, the discs remain closed, and the thread will ride on top of them, resulting in zero upper tension. Without adequate upper tension, the thread loop created by the needle will be too loose and shapeless for the bobbin hook to consistently catch. This is a very common oversight for beginners and experienced sewists alike.
3. Spool Cap Misuse: Use the correct size spool cap for your thread spool. A cap that is too small can cause the thread to snag on the spool pin, creating jerky tension. A cap that is too large might allow the thread to slip off the spool unevenly, leading to inconsistent feeding and problems with loop formation. Make sure the thread feeds smoothly off the spool and through the guides.
4. Needle Position During Threading: Before you begin threading, make sure the needle is at its highest position. You can achieve this by rotating the handwheel towards you (counter-clockwise) until the needle is fully raised. This aligns the take-up lever correctly, allowing the thread to pass through it without obstruction and ensuring the entire thread path is open and ready. If the needle is not at its highest point, the take-up lever might not be in the correct position, leading to improper threading and subsequent issues.
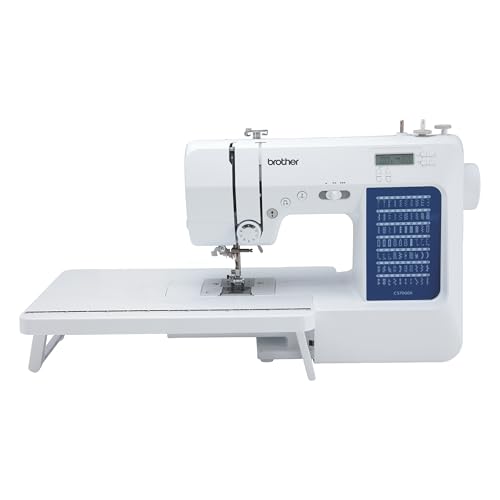
5. Automatic Needle Threader Issues: The Brother CS6000i features an automatic needle threader, a convenient tool that can also be a source of frustration if not used correctly. Make sure the thread engages fully with the small hook of the threader. Sometimes, the thread can slip out or not be positioned precisely, causing it to miss the needle eye. If the automatic threader is not working reliably, or if you suspect it's the problem, thread the needle manually. Newer models, such as the Brother CS7000X Sewing and Quilting Machine, often incorporate improved automatic needle threader designs, making this step easier and more reliable. This machine automatically pushes the thread through the needle with minimal effort, reducing common threading errors.
Bobbin-Related Problems
Even if upper threading is the primary suspect, bobbin issues certainly happen. These problems prevent the bobbin thread from presenting itself to the upper thread loop, or from being drawn up effectively.
1. Incorrect Bobbin Insertion: The Brother CS6000i uses a top-loading, drop-in bobbin system, which is generally user friendly. However, it's critical that the bobbin is inserted correctly. The thread must unwind in the counter-clockwise direction. There's usually a small diagram embossed near the bobbin case to guide you. After dropping the bobbin in, pull the thread through the small slit and under the tension spring, leaving a tail of about 4-6 inches. If the bobbin is unwinding clockwise, or if the thread isn't seated under the tension spring, the machine won't be able to pull up the bobbin thread.
2. Poor Bobbin Winding: A poorly wound bobbin can cause significant problems. When winding, the thread should lay evenly and smoothly across the bobbin, filling it consistently from side to side.
- Uneven Winding: If the thread is piled up on one side, it can snag, create excess friction, and prevent smooth feeding from the bobbin. This irregular tension can lead to skipped stitches or the bobbin thread simply not engaging.
- Too Loose: If the bobbin is wound too loosely, the thread can unravel or bird's nest inside the bobbin case, becoming tangled and preventing any thread pick-up.
- Too Full: An overfilled bobbin might rub against the bobbin case cover, impeding its free rotation. This friction can cause the bobbin to seize or feed thread inconsistently, leading to missed stitches.
Always wind bobbins at a consistent, moderate speed, making sure the thread lays evenly. If your machine has a separate bobbin winder tension disc, make sure the thread passes through it.
3. Wrong Bobbin Type: Using bobbins not specifically designed for your Brother machine can cause significant issues. The CS6000i requires SA156 plastic bobbins. These bobbins are designed with specific dimensions and material properties that interact correctly with the machine's magnetic sensors and tension system. Metal bobbins, or plastic bobbins from other brands, might not fit correctly, rotate smoothly, or might interfere with the machine's internal mechanisms. This can lead to skipped stitches or the bobbin not catching at all.
4. Lint and Debris in Bobbin Area: Even a small accumulation of lint, dust, or broken thread snippets in the bobbin case or under the needle plate can disrupt the bobbin's rotation or the hook's movement. These obstructions create friction and can prevent the bobbin from spinning freely, or the hook from completing its full rotation to grab the thread loop. Remove the needle plate and clean the bobbin area thoroughly with the small brush that came with your machine. Make sure to get into all crevices. Do not use compressed air, as it can push debris further into the machine's sensitive components.
Needle Problems
The needle is the primary tool that carries the upper thread and creates the loop for the bobbin hook. Its condition and correct installation are critical for stitch formation.
1. Bent or Dull Needle: A bent or dull needle is a very common cause of skipped stitches and the bobbin not catching. A bent needle deflects the upper thread, causing the loop to form incorrectly or in the wrong position. This makes it impossible for the bobbin hook to consistently catch the thread. A dull needle struggles to penetrate fabric cleanly, often pushing it down instead of piercing it, which also affects loop formation. Replace your needle regularly, typically after 8-10 hours of sewing or if you hit a pin. Needles are inexpensive, usually costing $3-$5 for a pack of five, making them one of the cheapest and most effective fixes.
2. Wrong Needle Type or Size: Using a needle that is too thick for delicate fabric, or too thin for heavy fabric, can create an improper loop or damage the fabric itself, hindering thread pick-up. For example, a universal needle might struggle with knits, while a sharp point needle might damage delicate silks. Always match your needle type and size to your fabric and thread type for optimal performance. Using the wrong needle can cause the thread to shred, break, or form an inadequate loop for the bobbin hook. Read more about choosing the right sewing machine needle sizes for various fabrics.
3. Incorrect Needle Insertion: The needle must be inserted with the flat side of the shank facing the back of the machine, pushed up as far as it will go into the needle clamp. Once fully seated, tighten the needle screw securely. If the needle is not fully seated, it will be too low, affecting the timing between the needle and the bobbin hook. If it's facing the wrong direction, the eye of the needle will be misaligned with the hook, preventing the thread loop from forming in the correct position for the hook to interact with it. Double-check this simple step, as it's easily overlooked.
Machine Timing and Hook Issues
If you have meticulously checked and corrected all the above points, and the problem persists, the issue might be more serious: machine timing. This is a mechanical problem that almost always requires professional attention.
1. What is Timing? Sewing machine timing refers to the precise synchronization between the needle's descent and the bobbin hook's rotation. As the needle descends and then begins to rise, it creates a small loop of upper thread just above the needle eye. At that exact moment, the bobbin hook must rotate to catch this loop, bringing the bobbin thread up to intertwine with the upper thread, forming a stitch. If this synchronization is off, even by a fraction of a millimeter or a microsecond, the hook will simply miss the loop, and no stitch will form.
2. When to Suspect Timing: You might suspect a timing issue if the machine consistently fails to pick up the bobbin thread, even after you have meticulously checked all other variables (threading, bobbin, needle, cleaning). Other symptoms that can point to a timing problem include frequent skipped stitches, especially at higher speeds, loud knocking or grinding noises coming from the bobbin area, or repeated needle breakage without an obvious cause like hitting a pin. Sometimes, a hard jam or trying to sew through overly thick fabric can throw the timing off.
3. Professional Repair: Adjusting sewing machine timing is a delicate operation best left to a certified sewing machine technician. It involves opening the machine's casing, accessing internal gears and shafts, and making precise adjustments to their alignment. This requires specialized tools and expertise that most home sewists do not possess. Attempting to adjust timing yourself without proper training can lead to further damage to your machine. The cost for a timing adjustment typically ranges from $80 to $150, depending on your location, the complexity of the machine, and the technician's rates. If other parts are damaged due to the timing being off, the cost could increase.
Tension and Other Settings
While less likely to cause a complete failure to catch the bobbin thread, incorrect tension or stitch settings can certainly contribute to poor stitch formation or inconsistent bobbin pick-up once the bobbin does catch.
1. Upper Tension Dial: The tension dial on your Brother CS6000i controls the tightness of the upper thread. If the upper tension is set too high, the thread might be pulled too taut to form a proper loop for the bobbin hook to catch. Conversely, if the upper tension is too low, the loop might be too large and sloppy, making it difficult for the hook to grab it cleanly. As a diagnostic step, try adjusting the upper tension to the middle setting (often around 4 or 5 on the dial) as a neutral starting point. Then, test on scrap fabric to see if the bobbin thread is picked up.
2. Stitch Length and Width: Make sure your stitch length and width settings are appropriate for the stitch you are trying to make. If the stitch length is set to zero (a setting sometimes used for darning, free-motion quilting, or buttonhole mechanisms), the machine's feed dogs will not move the fabric. This can prevent the thread from forming the necessary loop as the needle moves up and down, making it impossible for the bobbin thread to be picked up. For basic straight stitching, make sure your stitch length is set to a positive value, typically between 2.0 and 3.0.
Cleaning and Maintenance
A clean machine is a happy machine, and accumulated lint and debris are silent stitch killers that can impede virtually every function, including bobbin thread pick-up.
1. Under the Needle Plate: Regularly remove the needle plate and clean out any lint, dust, or thread snippets that have collected in the feed dog area and around the bobbin case. These fibers can build up and create significant friction, preventing the bobbin from rotating freely or the hook from moving unimpeded. Use the small brush that came with your machine, or a soft, dry paintbrush. Pay attention to the feed dog teeth, making sure they are clear of debris so they can grip the fabric properly.
2. Bobbin Case Area: Pay special attention to the bobbin case itself and the area directly underneath it. Fine fibers from thread and fabric can clog the mechanism that holds the bobbin in place, preventing it from spinning smoothly or causing it to jam. This directly impacts the bobbin's ability to present its thread to the hook. Remove the bobbin, clean out the entire area, and gently wipe down the bobbin case with a dry cloth. Avoid using harsh chemicals or lubricants not specified by the manufacturer.
3. General Cleaning: Dust and lint can also get into other parts of the machine, potentially interfering with sensors or moving parts over time. A quick wipe-down of the exterior after each project, and a more thorough cleaning of the bobbin and needle plate area, helps maintain overall machine health and prevents many common sewing problems. Neglecting regular cleaning can lead to a host of problems beyond just the bobbin not catching, including thread breakage, skipped stitches, and machine jams. Find more detailed cleaning tips for preventing machine jams and maintaining machine performance.
When to Call a Professional
Knowing when to seek professional help can save you time, frustration, and prevent further damage to your Brother CS6000i. While many issues can be resolved with simple troubleshooting, some problems require expert intervention.
- Persistent Issue: If you have meticulously checked and corrected all the points above (upper threading, bobbin insertion, needle condition, cleaning, tension settings) and the bobbin still consistently refuses to catch, it's a strong indicator of an underlying mechanical issue that needs a technician.
- Unusual Mechanical Sounds: Any new or unusual grinding, clunking, squealing, or scraping noises coming from your machine suggest a deeper mechanical problem that should not be ignored. Continuing to sew with such noises can exacerbate the damage.
- Timing Suspected: As discussed, timing adjustments are complex and require specialized tools and expertise. If you suspect the machine's timing is off, attempting a DIY fix is likely to cause more harm than good.
A routine service, which typically includes thorough cleaning, oiling (if applicable for your model, though the CS6000i is largely self-lubricating), and minor adjustments to tension or timing, usually costs between $70 and $120. If a specific internal part needs replacement (e.g., a damaged bobbin hook assembly, a worn gear), the cost could increase by $50 to $150 for parts, plus additional labor. Always ask for an estimate before authorizing repairs.
If your Brother CS6000i is an older machine, or if the estimated repair costs approach half the price of a new machine, consider upgrading. Modern computerized machines often offer enhanced features, improved reliability, and new technologies that make sewing even more enjoyable. The Brother CS7000X Sewing and Quilting Machine, typically priced around $200-$250, is an excellent choice. It offers 70 built-in stitches, a clear LCD display, and a wide table for larger projects. Its automatic needle threader is designed for ease of use and consistent performance, helping to prevent many common threading-related issues. For a more budget-friendly upgrade, the Brother CS5055 Computerized Sewing Machine (around $150-$200) provides 60 stitches and reliable performance for everyday sewing tasks. If you are looking for more creative options, the Brother XR9550 Computerized Sewing and Quilting Machine (around $250-$300) boasts 165 unique stitches, including decorative and alphanumeric fonts, making it suitable for a wide range of projects from quilting to garment making. Understand the typical lifespan of sewing machines to help with your repair vs. replace decision.
Troubleshooting a Brother CS6000i bobbin that isn't catching thread usually begins with a thorough check of the upper threading. Systematically work through each potential cause, starting with the simplest and most common. With careful inspection and minor adjustments, you can often resolve the issue yourself and get back to sewing.